


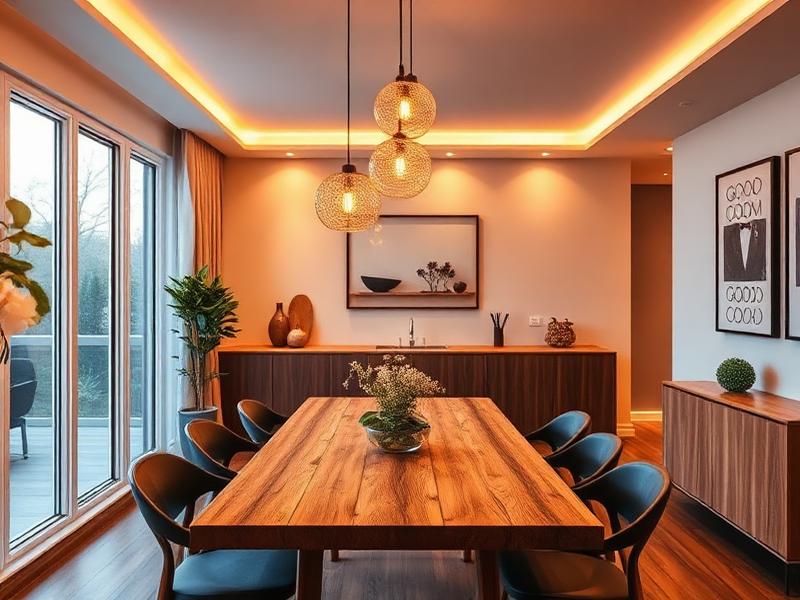

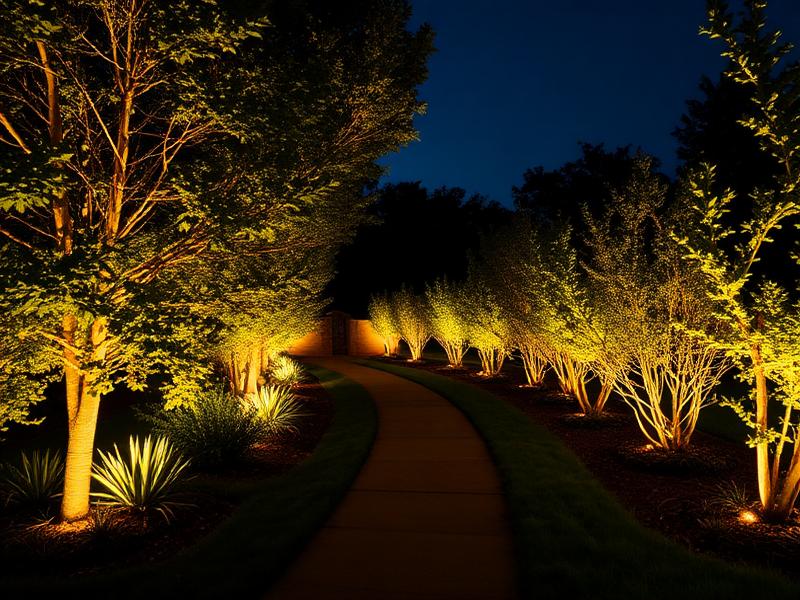


LED strip lighting can provide a continuous line of light in places where a conventional bulb or fitting would be awkward. The visible strip is only one part of the installation, however. A dependable result also relies on the correct voltage, driver capacity, controller, connectors, mounting surface and environmental protection. This guide explains how those pieces fit together and what to check before ordering.
1
Define the effect
Decide whether the project needs useful task light, a soft accent, colour effects or a combination.
2
Match the strip type
Choose single-colour, tunable-white or colour-changing tape with the control method the project requires.
3
Plan the full circuit
Calculate strip length and power, then match the driver, controller, cable and connectors.
4
Design the installation
Consider heat management, access, profile, diffusion, moisture and the route before fixing anything.
Start with the complete LED strip system
A strip-light installation works as a system. The tape produces light, a suitable driver converts the mains supply to the low-voltage output required by the strip, and a controller may be needed for dimming, tunable white or colour-changing functions. Profiles can improve mounting, protect the tape from contact and soften the appearance of individual LEDs when paired with a compatible diffuser.
Begin with the desired lighting effect and the measured route. Then browse BrittLite's LED strip lights and record the voltage, watts per metre, colour format, width, cut points and environmental rating for the exact product. Do not mix strips, drivers or controllers simply because their connectors look similar.
| Strip format | What it produces | Control requirement | Common planning question |
|---|---|---|---|
| Single-colour | One fixed white or coloured output | A compatible on/off supply; dimming only where the strip and control gear support it | Which colour temperature and brightness suit the task? |
| Tunable white or CCT | Adjustable warmer-to-cooler white light | A compatible tunable-white controller and matching conductor layout | Is adjustable white useful, or would one fixed white be simpler? |
| RGB | Red, green and blue mixing for colour effects | A compatible RGB controller and power system | Is decorative colour the priority, and is a separate white channel needed? |
| RGBW or RGBCCT | Colour effects plus one or more dedicated white channels | A controller, connector and cable format that matches every channel | Does each component support the same channel count and pin layout? |
Brightness, colour temperature and power
Brightness should be judged in lumens, not watts alone. Wattage describes electrical input, while lumen output describes visible light. For an accent line, a lower output may be comfortable; for under-cabinet preparation areas, retail shelves or work surfaces, the strip must provide useful light on the task without glare. Compare lumen output per metre where the manufacturer publishes it.
White colour temperature affects appearance. Warmer light can feel relaxed, neutral white often suits general interiors, and cooler white can give a crisper appearance. The surrounding finishes matter too: dark surfaces absorb more light, while glossy surfaces can expose reflections and visible LED points.
| White-light choice | Typical appearance | Often considered for | Check alongside it |
|---|---|---|---|
| Warm white | Soft, warmer tone | Living areas, hospitality and relaxed accent lighting | Surface colours and the desired atmosphere |
| Neutral white | Balanced white appearance | Kitchens, offices, retail and general-purpose lighting | Task visibility and consistency with nearby fittings |
| Cool white | Crisper, cooler appearance | Utility, display or task-led schemes where appropriate | Glare, reflections and the visual comfort of occupants |
| Tunable white | Adjustable warmer-to-cooler output | Multi-use spaces where the supported controller adds value | Compatible strip, controller, remote or app |
Calculate strip load before choosing the driver
Use the strip's stated watts per metre and the installed length. The basic calculation is straightforward:
Total strip load in watts = installed length in metres x watts per metre
Example: 4 metres of 9.6 W/m strip has a stated load of 38.4 W.
The driver must match the strip voltage and have sufficient capacity for the complete load. Follow the strip and driver manufacturers' guidance for capacity, maximum run length and any recommended allowance. Long runs may also need a different feed arrangement to reduce visible voltage drop. Browse compatible LED drivers after selecting the strip, not before.
Profiles, diffusion and heat management
An aluminium channel can create a straighter installation and provides a designed surface for compatible tape. A diffuser can soften glare and reduce the visibility of individual light points, although the result depends on LED density, channel depth and diffuser type. A profile does not automatically make an indoor strip waterproof or suitable for walking loads.
Choose the mounting method before cutting the strip. Surface-mounted, recessed, corner and specialist channels produce different beam positions and require different space. BrittLite's LED profile channels include multiple formats, so compare internal width, diffuser, end caps and fixing accessories with the tape.
Controllers, connectors and colour systems
A controller must match the strip technology, voltage, current and number of channels. A single-colour strip and an RGB strip do not use the same conductor arrangement. Likewise, an 8mm two-pin connector is not interchangeable with wider or multi-channel tape. Count conductors, measure strip width and check the contact-pad position before choosing a connector.
For a planned colour or dimming system, compare the LED controller range and relevant LED strip connectors. Confirm the control method, pairing process and electrical ratings from the exact product instructions.
Where LED strip lights work well
| Application | Useful design approach | Important checks |
|---|---|---|
| Kitchen cabinets | Hide the strip from direct view and aim light onto the worktop | Profile space, colour quality, switching position and moisture exposure |
| Media walls and shelving | Use reflected or concealed light for a softer effect | Ventilation, cable route, access to the driver and unwanted screen reflections |
| Retail displays | Choose output and colour quality for the merchandise | Uniformity, heat, operating hours and maintainable access |
| Stairs and low-level details | Plan a continuous route with protected connections | Glare, physical protection, control location and safe cable routing |
| Signs and architectural features | Mock up the brightness and viewing angle before final fixing | Maximum run length, outdoor rating where required and service access |
A practical installation sequence
- Measure every straight section, corner, branch and cable transition.
- Select the strip type, voltage, colour output, width and environmental rating.
- Calculate the total electrical load and check maximum run-length guidance.
- Choose a compatible driver, controller, connector system and profile.
- Plan where drivers and controllers will remain ventilated and accessible.
- Test the complete system before final fixing or cutting all sections.
- Have mains-side work completed by a suitably competent person.
Important: An IP rating applies to the tested product or enclosure, not automatically to every cut, connector or joint in the finished system. The least-protected connection can determine the suitability of the installation.
LED strip light FAQs
Can LED strip lights be cut to any length?
No. Cut only at the marked points specified for the product. The distance between cut points varies, and cutting elsewhere can damage a circuit section.
Do all LED strips need a driver?
Low-voltage strips require a compatible power supply or driver. Match its output voltage and capacity to the exact strip and total installed load.
Can I put any LED strip in an aluminium profile?
No. The internal channel width, diffuser clearance and fixing method must suit the tape. Measure the strip, including coatings and connectors, before choosing the profile.
Are all strip-light connectors universal?
No. Width, pin count, pad position and strip technology must match. A connector for two-pin single-colour tape will not suit a multi-channel RGB or tunable-white strip.
Can an indoor strip be made outdoor-safe with sealant?
Do not assume so. Outdoor suitability depends on the documented ratings of the strip, joints, cable entries, driver and enclosure as a complete installation.
External reference: For a neutral overview of strip formats, control types and ingress-protection variations, see the Wikipedia article on LED strip lights.